It might be a bit complicated for a regular person to create his own textures, but you can pretty much use already made ones...
We will need those libraries for everything to work properly.
Java is required for Resorep to work, it's just a programming language maintaned by Oracle. If we don't install it, Resorep just simply won't launch.
The program for loading textures itself, we will use it a lot. You don't have to open it all the time, it will be launched all the time and do everything once the game is launched...
Download the 'Setup Win 64bit' one and install it onto your computer, we will need this program to easily view our textures inside folders.
We will require PhotoShop to easily edit our .dds texture files, I don't know where you can easily get a free licensed one, but I've left a link for the pirated one without any viruses or Etc...
I got this torrent from RuTracker.ORG, this is a trusted pirating website, chance of you getting a virus from there is very low.
Just use any torrent client like Transmission (recommended) or qBittorrent to download the program.
After installing the torrent, open the .iso file, after opening the .iso run 'autoplay.exe' and proceed with the installation.
This plugin is a must have for this guide, since it does all the job. Without it, we won't be able to save our beloved textuers. Just hit the large green 'ZIP' button in the upper right corner of the website.
To install, open the .zip archive and copy 'IntelTextureWorks.8bi' from 'IntelTextureWorks_1.0.4\Plugins\x64' to the PhotoShop's 'Plug-ins' directory. (You can find your PhotoShop directory by searching for 'photoshop.exe').
First of all, we have to open Resorep and agree to anonymous data collection.
Then, we can actually add our wanted application to be hooked by Resorep.
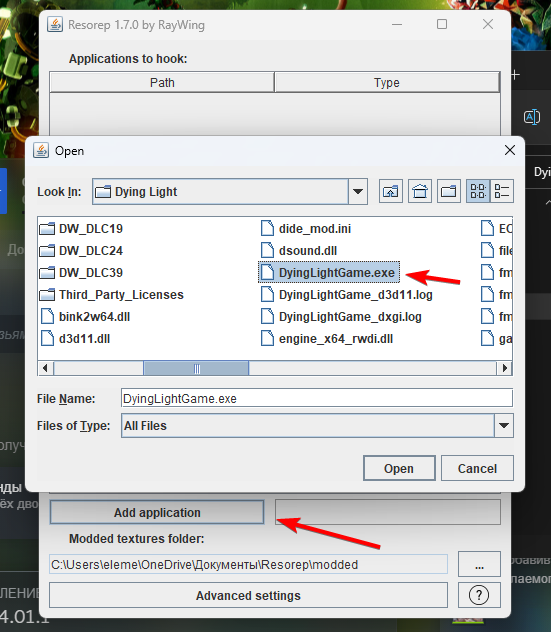
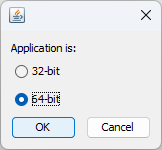
Select the exe of the game and open it with the proper amount of bits - 32/64, depends on the game itself.
Resorep should create a folder inside your Windows' documents, with some directories that we need.
What we need is the 'modded' directory, all custom textures should be stored there.
Example: (C:\Users\%userprofile%\Documents\Resorep\modded)
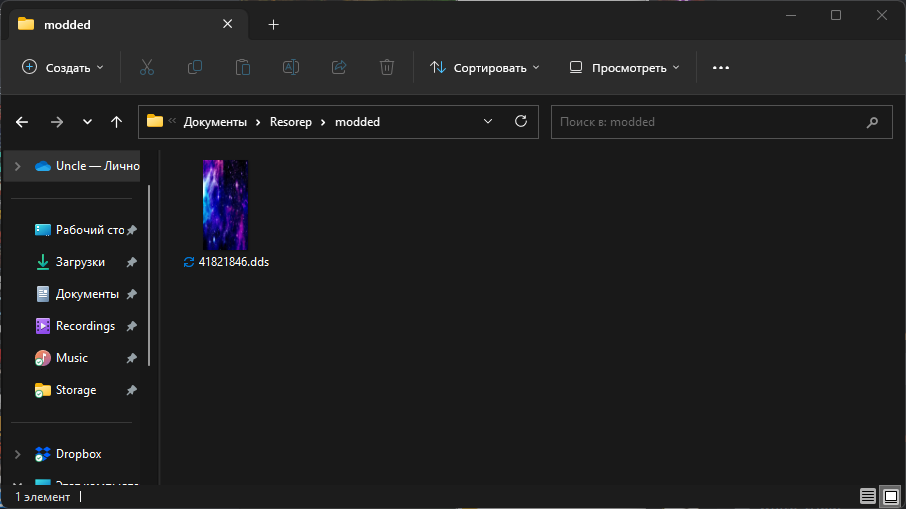
On this screenshot I only have one texture, which is a galaxy reskin for the Dao sword.
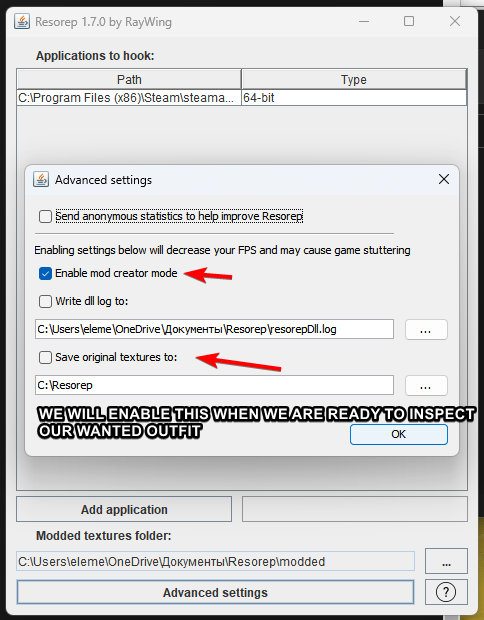
Before proceeding, we actually need to configure our Resorep a bit... Go to advanced settings and enable the mod creator mode.
Don't enable the 'Save Original Textures' option just yet, it should be enabled only when you're in-game and ready to inspect your outfit.
/ Make sure that your original textures folder has no cyrillic/chinese or any other non-latin characters in the path, and is not a system path (I don't recommend using the documents folder)
/ Personally I just created a 'Resorep' folder for the original textures on my C drive to avoid any conflicts. (C:\Resorep)
Since this guide is mainly for Dying Light, I recommend you to install my developer menu so that we can inspect our outfits easily.
1. Load up into your game save and go somewhere safe where nobody can bother you.
2. Open your wardrobe with the developer menu.
3. Select any outfit you want.
4. Enable the free camera. (World -> Graphics -> Free Camera)
5. Pause your game.
6. Open Resorep and enable the 'Save original textures to' option.
7. Slowly fly around your character for 10 seconds. (Press SHIFT for slower speed of camera)
Resorep should grab all the needed textures and put them inside the selected folder...
If there are no files in the folder you've selected, then it has no write priveleges for this folder or you just forgot to enable the save textures option.
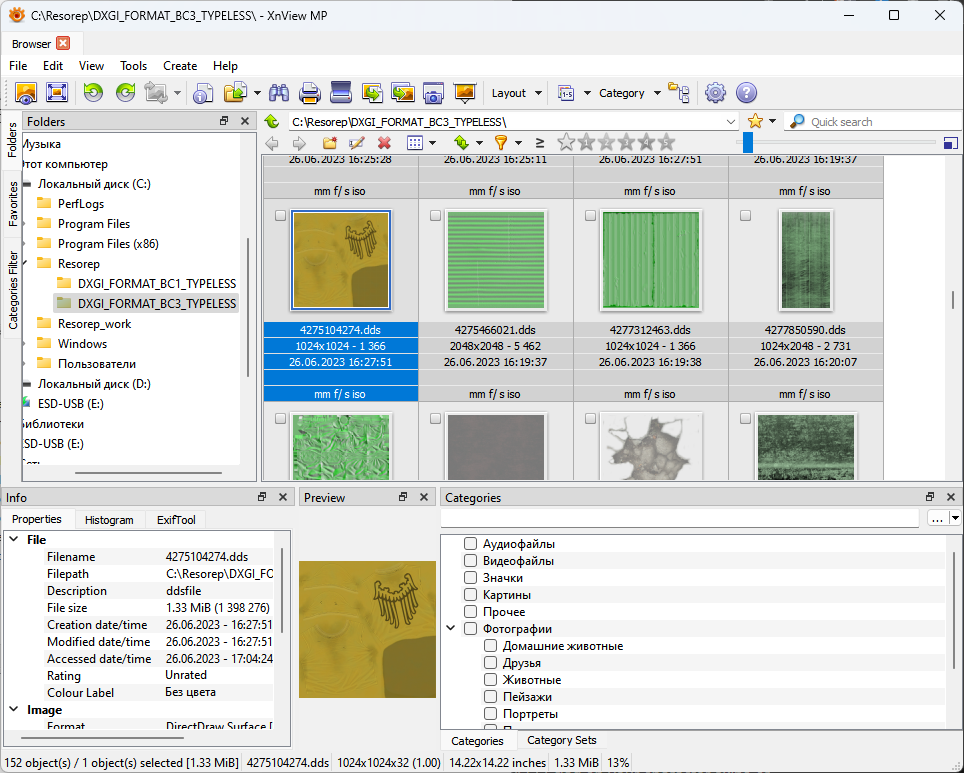
Attempt to find the texture you want. Didn't find? Dump the textures until it appears.
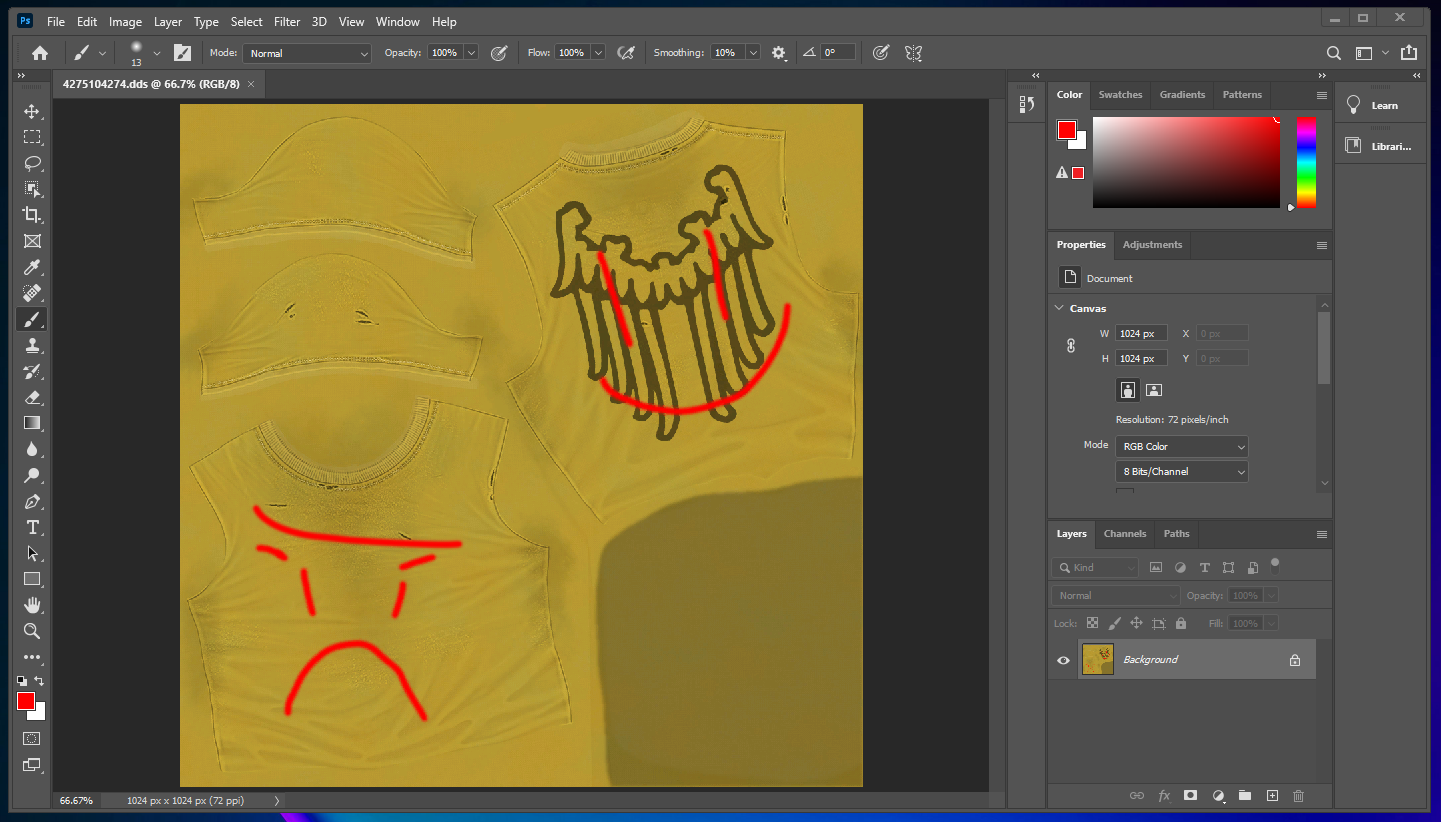
In case you found everything you need, you can just drag those files onto your Desktop and modify them with Photoshop.
Don't enable the 'Split mip-maps into separate layers.' option when loading the .dds file in PhotoShop!
Try saving your file with these settings:
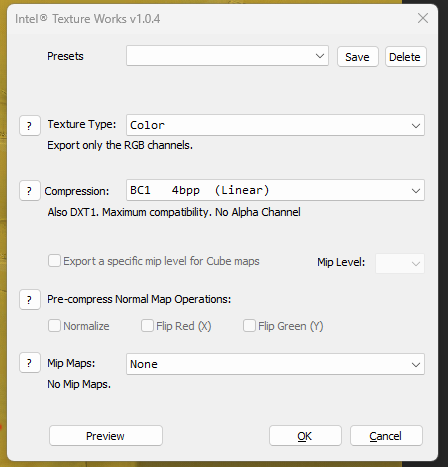
In case you saved with the settings above, and your outfit colors are black/incorrect, try these settings:

The second screenshot personally worked for me, while the settings on the first one made my outfit go black...
If you don't know how to load custom textures / use ready ones, you can find this info above in this article.
Good job for those that modified the textures themselves, and cheers to the ones that use ready ones!