Windows 11 Installation & Debloat Guide
How to get the most clean & stable install of Windows 11 without breaking anything.
Clean Installation
- Download the Windows ISO generator from uupdump.net
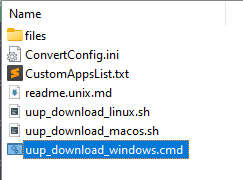
Recommended build: Windows 11, version 23H2 (22631.5415) amd64 - Press Create download package and generate the .iso using the batch file in the downloaded archive (usually takes 30-40 minutes)
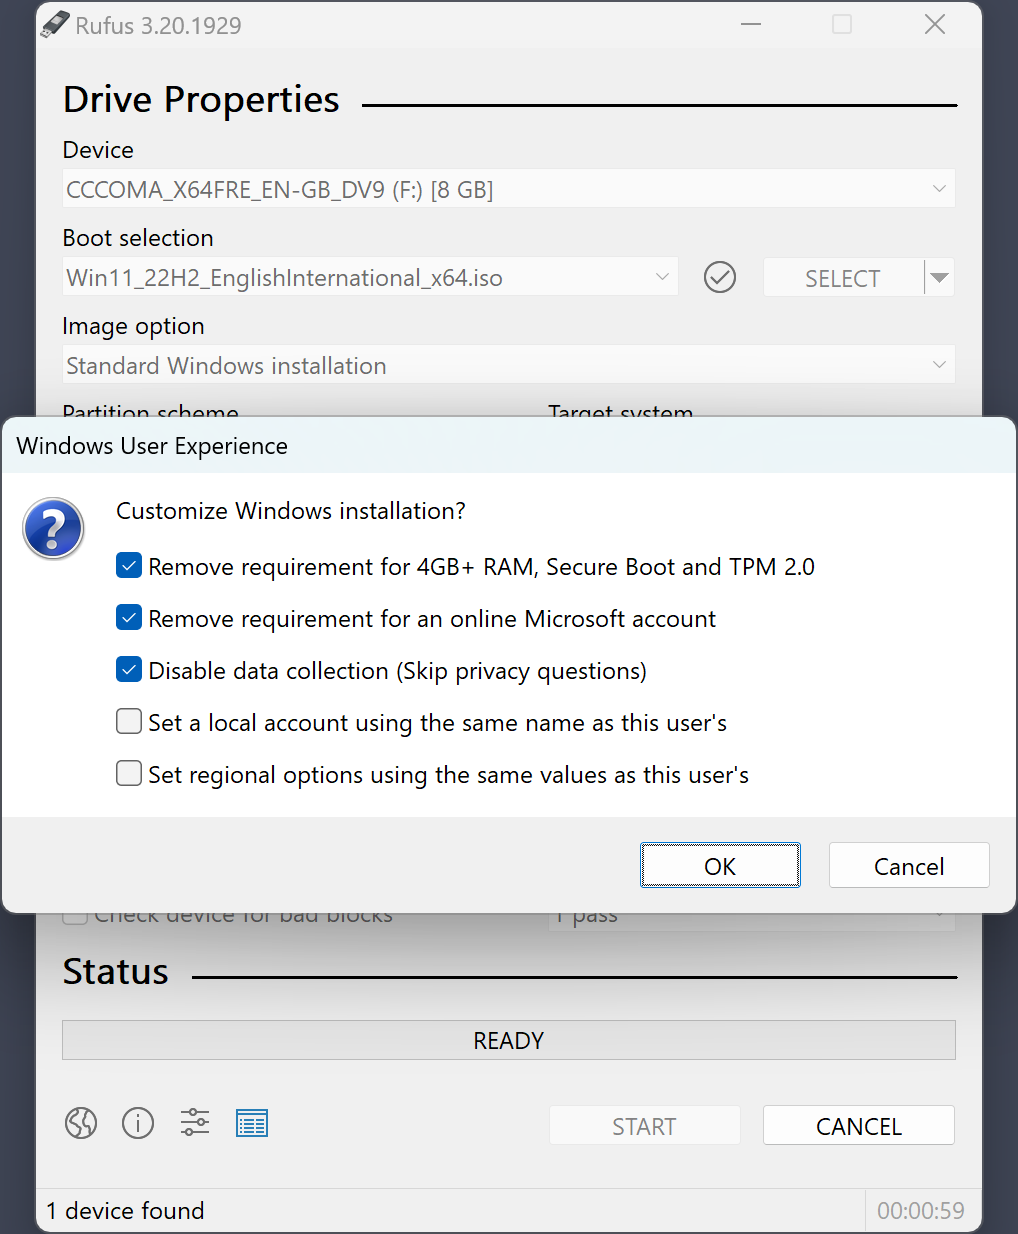
- Create a bootable USB for our generated .iso using Rufus
(Make sure to check these options: 4GB RAM, TPM, Secure Boot + Remove Online Microsoft Account Requirement + Skip Privacy Questions) - Turn OFF your computer
- Enter BIOS and disable Secure Boot (You can look this up online for your BIOS)
- In BIOS, boot from your USB and install Windows
- After installation is complete, Turn OFF your computer
- Turn ON your computer and enter BIOS → Re-enable Secure Boot

Windows 11 Activation
We will utilize a tool called MAS (Microsoft Activation Scripts) and activate Windows 11 forever.

- Open PowerShell
To do that, press the Win + X, then select PowerShell or Terminal. - Copy and paste the code below, then press enter.
irm https://get.activated.win | iex - Proceed with the script
Removing Bloatware
You can choose what exactly you want to remove from Windows 11 using privacy.sexy
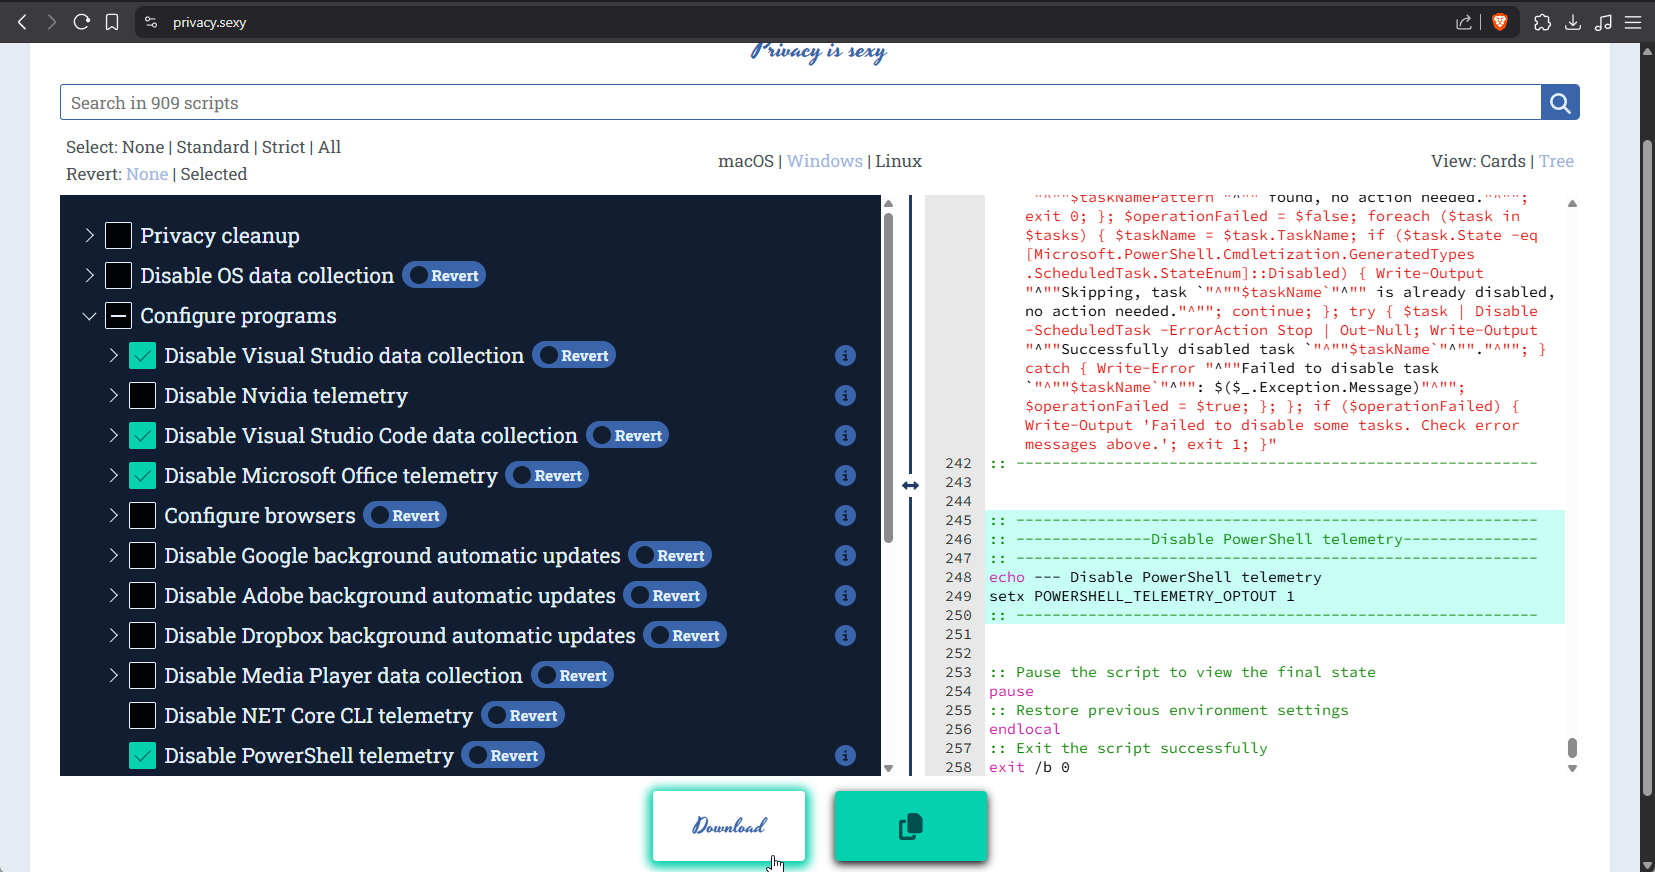
After selecting everything you need, you can just click the download button and run the .bat script as admin.
You can also use a script made by me which is already configured in a good way: nloginov_privacy_script.bat
Warning: Removing core elements of Windows is not recommended, only select what's necessary for you, or what won't harm the system (like Telemetry, Feedback, Cortana, Copilot, OneDrive, Microsoft Maps, etc...)
Alternative Tool
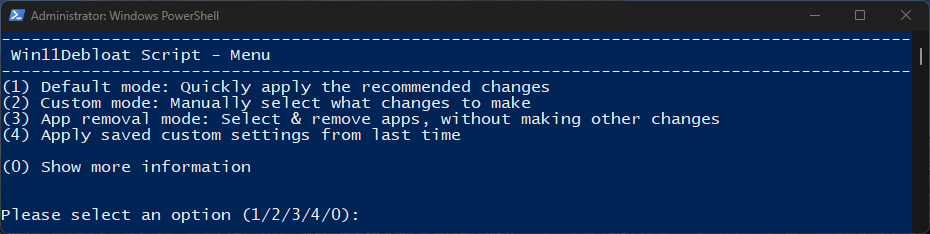
There's also a script called Win11Debloat - this one is a far more simpler to use, and also not that bad. But with privacy.sexy you specifically choose what you need. This script might decide some things for you, but it will ask you questions about what you need / don't need.
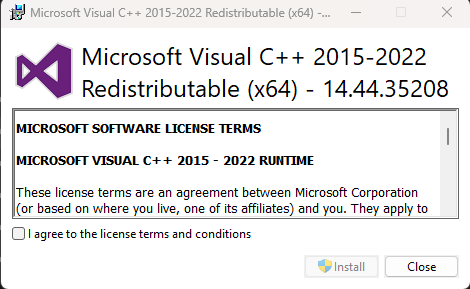
Visual C++ Redistributable Runtimes All-in-One
You can download the all-in-one package of needed redistributables from TechPowerUP
Disabling Windows Updates
After you've removed all the bloat, we need to make sure Windows doesn't install unnecessary updates:
Below are 2 batch files, for enabling and disabling updates.
disable_windows_update.bat
enable_windows_update.bat
Note: Before running the first .bat file, make sure you don't have the KB506xxxxx build installed (if you installed the version of Windows 11 recommended in the tutorial above), it's recommended to remove it through the updates menu.
NVIDIA Driver Installation Tips
To avoid bloating your system, it’s important to install NVIDIA drivers cleanly and without unnecessary components.
NVCleanstall lets you customize and install NVIDIA drivers with a minimal footprint by removing unwanted features like telemetry, 3D Vision, or HD Audio drivers.
Note: Before installing, it’s a good idea to uninstall previous drivers using Display Driver Uninstaller (DDU) in safe mode for a truly clean slate.
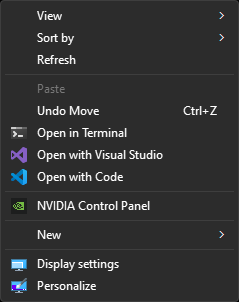
Restoring Old Windows 10 Context Menu
- Press Win + R and enter regedit in the window that will pop up
- Navigate to this section:
HKEY_CURRENT_USER\Software\Classes\CLSID - Create a key named {86ca1aa0-34aa-4e8b-a509-50c905bae2a2}
(Right-click on the CLSID section, select Create, select Section, and enter the specified name) - Inside the key we just created, create a new key named InprocServer32
- Now navigate to that key and double click the (Default) value and without changing anything press OK
Software Recommendations & Essential Tips
Web Browsers
- Brave (Debloat recommended via brave_no_bloatware.bat)
- Ungoogled Chromium
- FireFox
- LibreWolf (Privacy focused)
- Tor (Anonymity focused)
Recommended Extensions
- Decentraleyes - Local CDN emulation
- I still don't care about cookies - Cookie consent removal
- uBlock - AdBlock for Chromium browsers
- uBlock Origin - AdBlock for Firefox
Recommended Search Engines
- DuckDuckGo (Recommended)
- Brave Search
- Qwant
- Startpage
Media Tools
- Video Players:
- Music Players:
- foobar2000
- AIMP
- SpotX (Free spotify)
Productivity Tools
- Archivers:
- Photo Viewers:
- ImageGlass (Recommended)
- Nomacs
- Photo Editors:
- Screen Recording:
- OBS Studio
- NVIDIA Shadowplay (NVIDIA only)
- Radeon ReLive (AMD only)
- Video Editing:
- Video Compression:
- Text Editors:
- Sublime Text 4 (Debloat recommended via sublime_text_no_bloatware.bat)
- NeoVim
- VS Code (Debloat recommended via privacy.sexy)
- Notepad++
- Email Clients:
- Thunderbird (Recommended)
- Mailspring
- Torrent Clients:
- Transmission (Recommended)
- qBittorrent
- Deluge
- FTP Clients:
- Password Managers:
System Utilities
- NVCLeanstall (NVIDIA only) - Install graphic drivers without bloatware
- ShadowPlay Patcher (NVIDIA only) - Bypass recording restrictions of instant replay
- Display Driver Uninstaller - Complete and clean graphics driver removal tool
- Bulk Crap Uninstaller - Better installed software removal tool
- Autoruns - Better app startup manager
- Everything - Better system file search
- WizTree - Instant disk space analyzer
- CrystalDiskInfo - Drive health monitoring
- CrystalDiskMark - Drive speed benchmarking
- CPU-Z - CPU diagnostics
- GPU-Z - GPU diagnostics
- SkipUAC - Better startup tool for programs
- SuperF4 - Force close stubborn apps
- LosslessCut - Instant, lossless video trimming
- MSI Afterburner - GPU overclocking & monitoring
- Process Hacker 2 - Advanced task manager
- ShareX - Powerful screenshot tool
Gaming Utilities
- DLSS Swapper (NVIDIA only) - Easily manage and swap DLSS versions
- Millenium - Better steam client with themes & plugins
- Vencord - Minimalistic discord client with themes & plugins
- OpenAsar - Speed up and debloat discord
- CreamInstaller - DLC unlocker for Steam, Epic Games, UPlay
- HWID Spoofer - Spoof your hardware & avoid anti-cheat bans
- AutoHotkey - Powerful macro scripting tool
Tips & Tricks
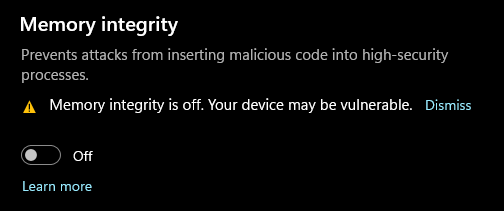
- Go to Windows Security → Device Security -> Core isolation and disable Memory integrity
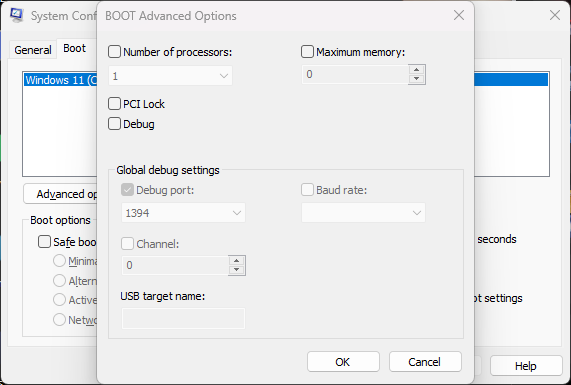
Disabling this option will improve your performance by 5% and make your CPU work faster. - Press Win + R and enter msconfig in the window that will pop up, go to the Boot section, click your Current OS and press Advanced options... below.
Then make sure you untick the box in the top-left named Number of processors.
For some people this is enabled, and this is a Windows bug which may eat your CPU performance.
- Go to Settings -> Gaming -> Game Mode and turn on Game Mode.
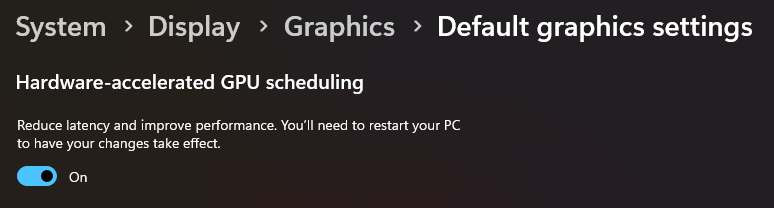
This is a core Windows feature which will automatically turn off not needed background processes while gaming. - Go to Settings -> System -> Display -> Graphics -> Change default graphics settings and turn on Hardware-accelerated GPU scheduling.
This is a core Windows feature which will reduce latency and improve performance. - Go to Settings -> Bluetooth & devices -> Mouse and turn off Enhance pointer precision.
This disables mouse acceleration, resulting in more consistent cursor movement that improves aim and muscle memory in gaming.


- Go to Windows Security → Virus & Threat Protection settings and untick every checkbox except Real-time protection
- Add exclusions for game folders/performance apps to prevent scanning overhead
- Change DNS to Cloudflare (1.1.1.1) or Quad9 (9.9.9.9) for privacy/performance
- Use ncpa.cpl to disable IPv6 if not needed
Built-in Power Tools:
- Ctrl + Shift + ESC – Open the task manager
- Ctrl + Alt + Del – Open the emergency menu
- Win + Shift + S – Quick screenshot tool with instant edit options
- Win + D – Instantly minimize or restore all windows
- Win + Ctrl + Shift + B – Reset graphics driver (useful for recovering from visual glitches or crashes)
- Alt + Enter – Toggle fullscreen/windowed mode in most games